To install a new firewall through your Cloud Console, begin by accessing your server and follow these steps:
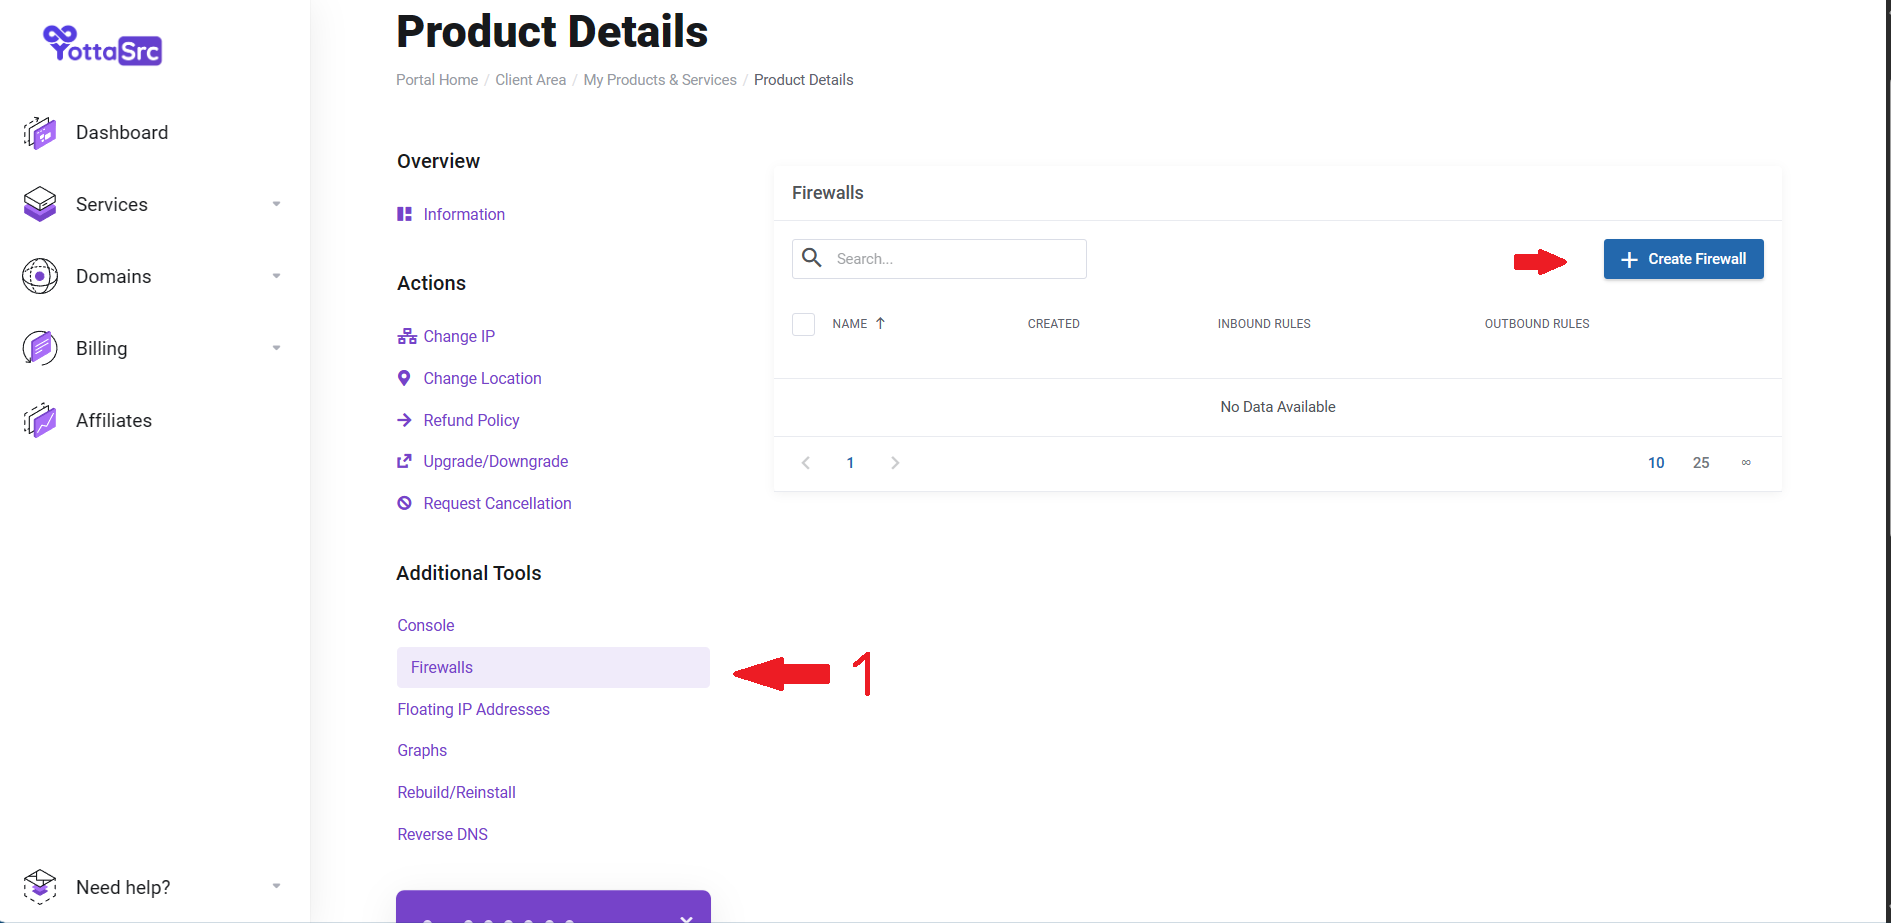
- Navigate to "Firewalls" from the left sidebar, and then Click on "CREATE FIREWALL.":
- Enter a chosen name for the new firewall.
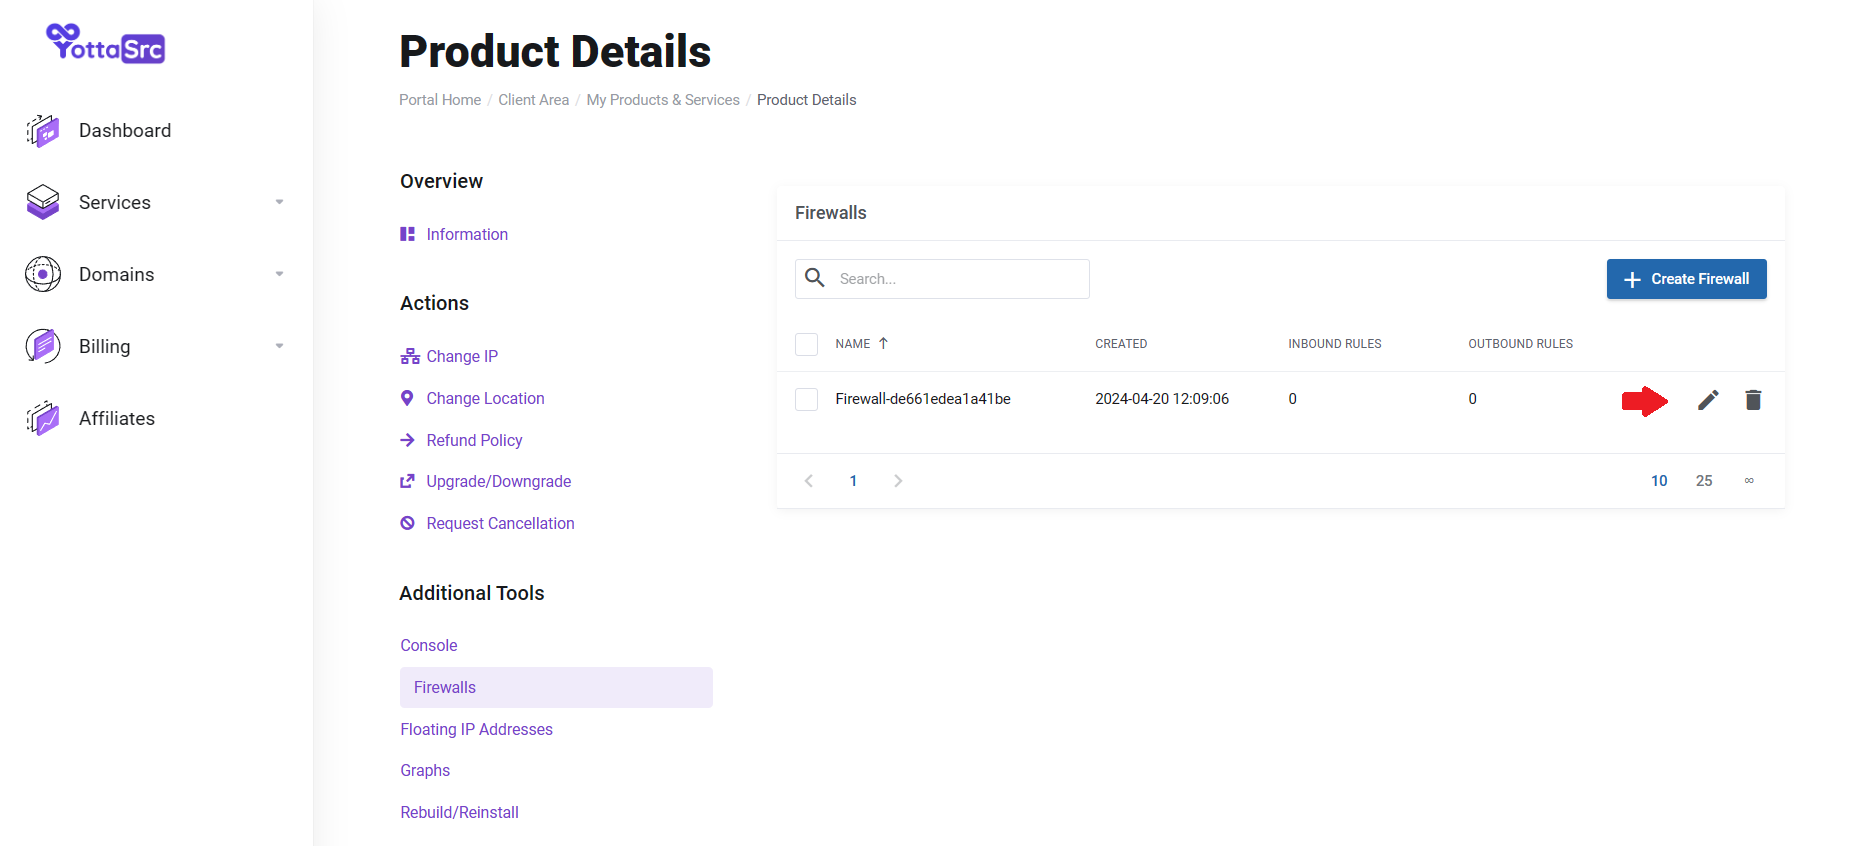
- Click the edit icon.
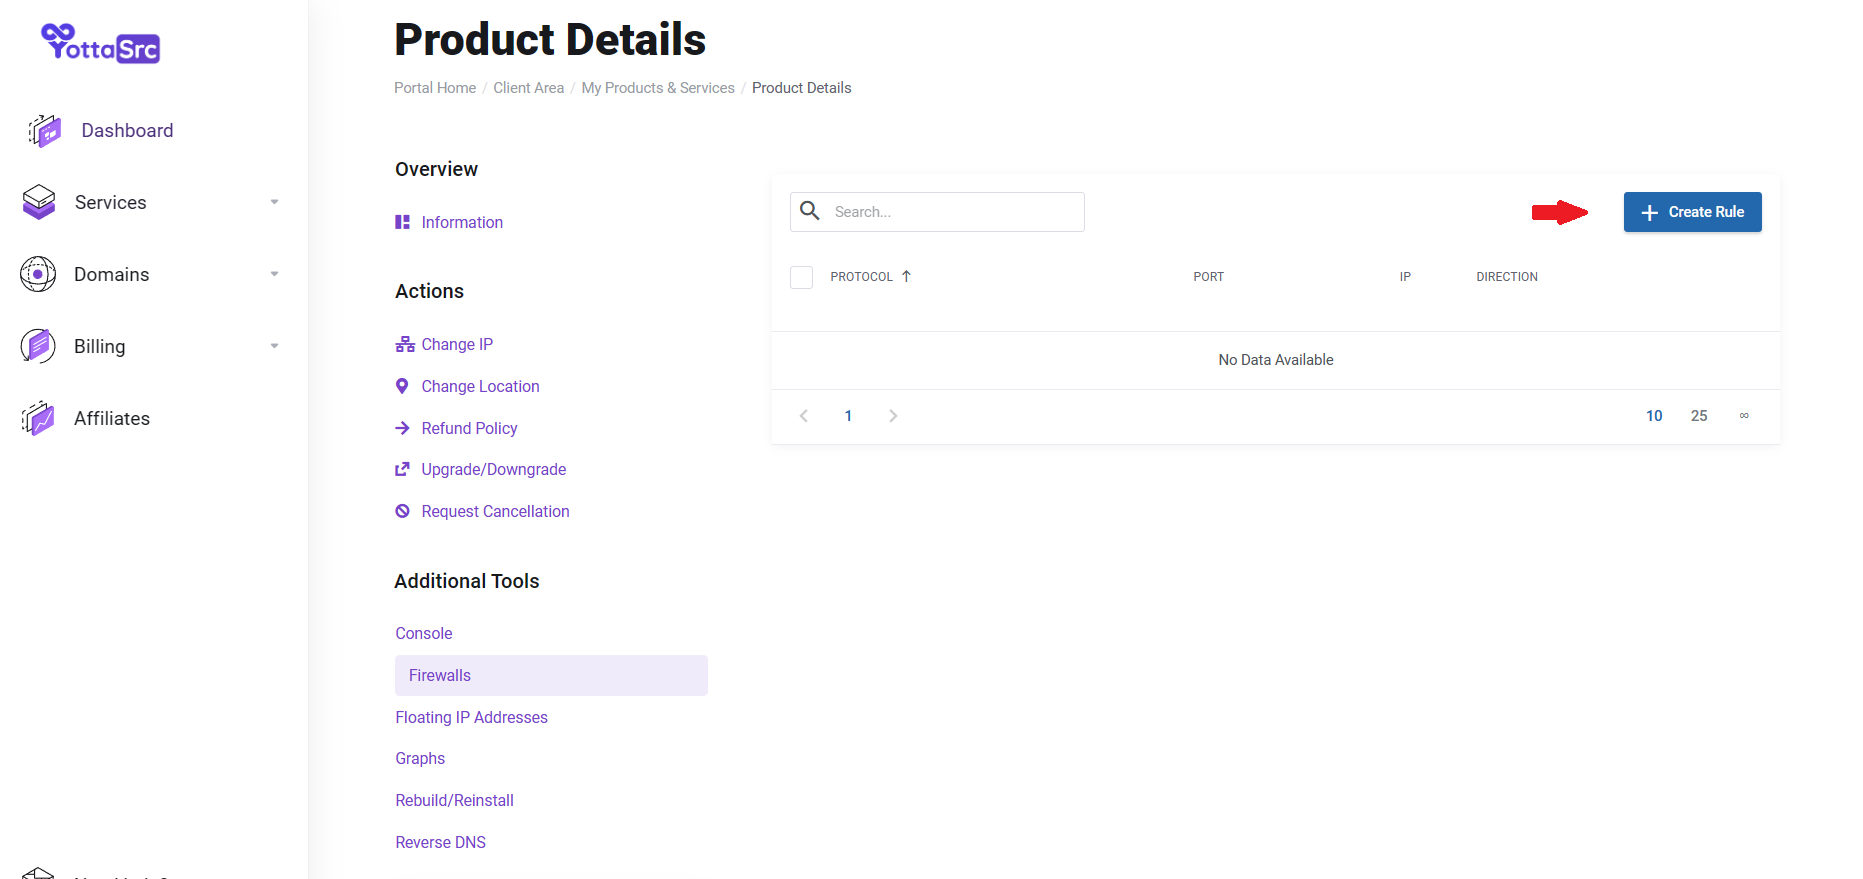
- Click on "create rule."
 Here, you can customize your firewall with these options:
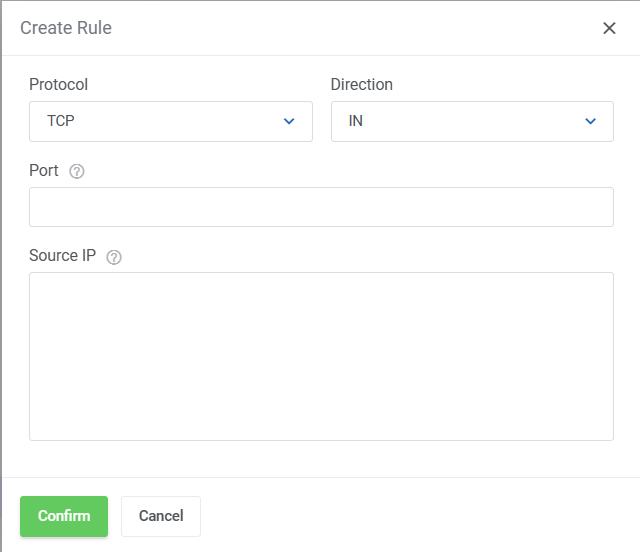
- For the protocol, choose either TCP or UDP.
- Select the traffic direction: IN for incoming or OUT for outgoing.
- In the Port field, specify the individual port or range of ports that will allow traffic. For TCP and UDP, define ranges with a dash, such as 1024-5000.
- Define allowed Source IP addresses for connections. By default, the firewall permits all outbound traffic. To limit this, specify allowed IPv4 or IPv6 addresses in CIDR format.
- Use "0.0.0.0/0" for all IPv4 addresses and "::/0" for all IPv6 addresses.
- A maximum of 100 CIDRs is permitted; separate each address with a comma.
When you're satisfied with the rule, you can click on confirm to apply the rule.
Search